HEXO重装日记
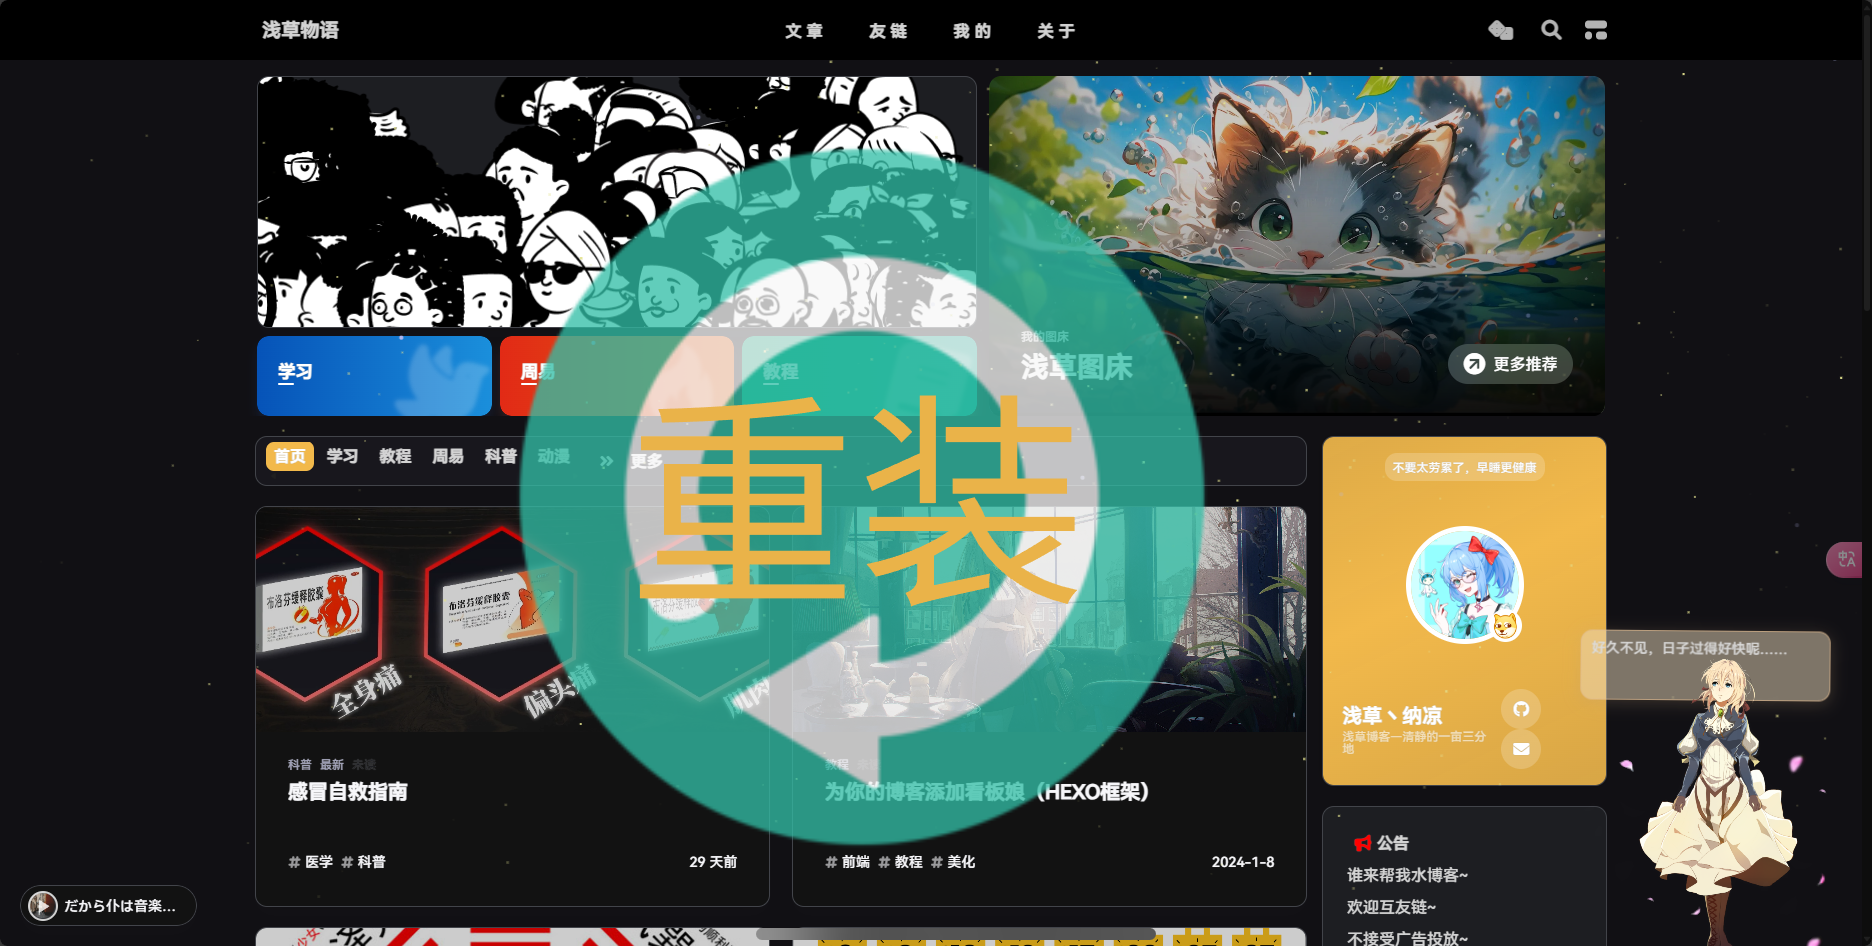
HEXO重装日记
浅草丶纳凉备份完整文件
最最最最最重要的是,一定要备份好完整的文件,建议把整个原本的博客文件夹全部归档备份,一遍后续复制粘贴还原相关配置
Hexo安装
新建博客目录,安装hexo
1 | npm install hexo-cli -g |
Hexo初始化配置
初始化hexo
1 | hexo init |
安装主题
安装博客主题,比如知名主题Butterfly 或本站使用的安知鱼主题
Butterfly- git clone -b master https://github.com/jerryc127/hexo-theme-butterfly.git themes/butterfly
安知鱼
- git clone -b main https://github.com/anzhiyu-c/hexo-theme-anzhiyu.git themes/anzhiyu
建议参考相关文档完成安装与配置
建议讲主题配置放置在更目录中,以防止更新主题文件导致配置文件丢失,具体做法是:讲主题目录下的_config.yml复制到根目录中并重命名为_config.butterfly.yml 或_config.anzhiyu.yml 具体名称需要以你的主题为准。
以后如果修改任何主题配置,都只需修改 _config.主题名.yml 的配置即可。
注意:
- 只要存在于
_config.主题名.yml的配置都是高优先级,修改原_config.yml是无效的。 - 每次更新主题可能存在配置变更,请注意更新说明,可能需要手动对
_config.主题名.yml同步修改。 - 想查看覆盖配置有没有生效,可以通过
hexo g --debug查看命令行输出。 - 如果想将某些配置覆盖为空,注意不要把主键删掉,不然是无法覆盖的
安装 pug 和 stylus 渲染插件
1 | npm install hexo-renderer-pug hexo-renderer-stylus --save |
或
1 | npm install hexo-renderer-pug hexo-renderer-stylus --save --registry=http://registry.npmmirror.com |
配置文件
打开Hexo Configuration文件:_config.yml
修改title、subtitle、description、keywords、author、language、timezone、url等,具体请参考之前备份的配置文件或hexo官方中文文档
打开主题配置文件_config.主题名.yml
修改相关配置。
至此Hexo框架安装完成,理论上此时可以直接启动Hexo渲染文章
1 | hexo cl |
但我们是迁移博客,所以继续完善配置。
插件安装
SEO优化类
SEO 是“Search Engine Optimization”(搜索引擎优化)或“Search Engine Optimizer”(搜索引擎优化服务商)的首字母缩写。聘用 SEO 是一项重大决定,这有可能改善您的网站并节省时间,但也存在破坏网站和声誉受损的风险。在调研聘用 SEO 带来的潜在益处的同时,也请务必评估,如果 SEO 不负责,可能给您的网站带来哪些损害。很多 SEO 及其他代理机构和顾问会为网站所有者提供实用的服务,包括:
- 网站内容或结构审核
- 网站开发技术建议:如托管、重定向、错误页、JavaScript 的使用
- 内容开发
- 线上业务发展活动管理
- 关键字研究
- SEO 培训
- 有关特定市场和地理区域的专业知识。
以上来自于谷歌对SEO的解释,具体来说就是关乎你的网站是否被谷歌收录、以及展示位置排名等。一下方法仅为提高其概率,并不保证一定收录或一定前排展示。
配置文章链接转数字或字母
1 | npm install hexo-abbrlink --save |
这是个 Hexo 插件,可以根据帖子前面的标题和数据生成静态帖子链接,不再是年月日,优化SEO收录。
并在hexo配置文件内将permalink修改为如下:
1 | permalink: posts/:abbrlink.html |
并添加
1 | abbrlink: |
注意缩进
具体请参考原作者仓库:https://github.com/rozbo/hexo-abbrlink
站地图的生成
安装sitemap插件,来生成文章站点地图
1 | npm install hexo-generator-sitemap --save |
并在Hexo配置文件内添加:
1 | # 谷歌、百度站点地图生成 |
美化插件类
看板娘
请参考本站发表于 2024-01-08 字数总计:1.9k 阅读时长:9 分钟的文章:为你的博客添加看板娘(HEXO 框架)
此篇博文详尽的介绍了安装方法以及本人对其做的优化改动和自定义配置文件

留言板:薇尔莉特信封
安装
1 | npm install hexo-butterfly-envelope --save |
在hexo配置文件中添加如下配置:
1 | # envelope_comment |
别忘了在主题文件导航中开启对应页面,例如:
1 | 留言板: /comments/ || fas fa-envelope |
电子钟
安装安知鱼提供的电子钟
1 | npm install hexo-butterfly-clock-anzhiyu --save |
预览图:
在主题配置中添加如下配置:
1 | # electric_clock |
| 参数 | 备选值/类型 | 释义 |
|---|---|---|
| priority | number | 【可选】过滤器优先级,数值越小,执行越早,默认为 10,选填 |
| enable | true/false | 【必选】控制开关 |
| enable_page | path/all | 【可选】填写想要应用的页面的相对路径(即路由地址),如根目录就填’/‘,分类页面就填’/categories/‘。若要应用于所有页面,就填’all’,默认为 all |
| exclude | path | 【可选】填写想要屏蔽的页面,可以多个。写法见示例。原理是将屏蔽项的内容逐个放到当前路径去匹配,若当前路径包含任一屏蔽项,则不会挂载。 |
| layout.type | id/class | 【可选】挂载容器类型,填写 id 或 class,不填则默认为 id |
| layout.name | text | 【必选】挂载容器名称 |
| layout.index | 0 和正整数 | 【可选】前提是 layout.type 为 class,因为同一页面可能有多个 class,此项用来确认究竟排在第几个顺位 |
| loading | URL | 【可选】电子钟加载动画的图片 |
| clock_css | URL | 【可选】电子钟样式 CDN 资源 |
| clock_js | URL | 【可选】电子钟执行脚本 CDN 资源 |
| ip_api | URL | 【可选】获取时钟 IP 的 API |
| qweather_key | text | 【可选】和风天气 key |
| gaud_map_key | text | 【可选】高得地图 web 服务 key |
| default_rectangle | text | 【可选】开启后将一直显示 rectangle 位置的天气,否则将获取访问者的地理位置与天气 |
| rectangle | text | 【可选】获取访问者位置失败时会显示该位置的天气,同时该位置为开启 default_rectangle 后的位置 |
(感谢安知鱼提供)
安装字数统计
1 | npm install hexo-wordcount --save |
主题进阶配置
安知鱼主题进阶配置,内容参考与https://docs.anheyu.com/,建议直接前往作者文档中配置。
Footer 设置
1 | # Footer Settings |
| 参数 | 解释 |
|---|---|
| owner | 页脚网站所有者@2020-当前年份 |
| owner.enable | 页脚网站所有者是否启用 |
| owner.since | 页脚年份,控制台中打印的运行时间也来自这里 |
| runtime | 运行时间 |
| runtime.enable | 运行时间是否启用 |
| runtime.launch_time | 网站上线时间 |
| runtime.work_img | 页脚上班时间的徽标 |
| runtime.work_description | 页脚上班时间的 title 描述 |
| runtime.offduty_img | 页脚下班时间的徽标 |
| runtime.offduty_description | 页脚下班时间的 title 描述 |
| bdageitem | 徽标配置项 |
| bdageitem.link | 徽标配置链接 |
| bdageitem.shields | 徽标配置徽标 |
| bdageitem.message | 徽标配置徽标 title |
侧边栏设置
可自行决定哪个项目需要显示,可决定位置,也可以设置不显示侧边栏。
修改 主题配置文件
1 | # aside (侧边栏) |
访问人数 busuanzi
访问 busuanzi 的官方网站查看更多的介绍。
修改 主题配置文件
1 | busuanzi: |
运行时间
现实网站运行时间,预览图
评论
推荐:
Twikoo
Valine
Waline
配置方法请自行进入其官方文档进行配置,这里不在过多赘述。
标签卖萌
主题配置文件中
1 | # 标签卖萌 |
友情链接配置
新建link文件
1 | hexo new page link |
打开source/link/index.md 这个文件
修改为:
1 |
|
新建文件source\_data\link.yml,没有_data文件夹的话也请自己新建。
打开,新增:
1 | - class_name: 推荐博客 |
PWA配置
首先极其不推荐配置pwa,配置的繁琐和bug与其带来的收益完全不成正比,若要配置,请三思后做好备份后再安装。
PWA是web优化的一种手段,安知鱼主题做了一定的适配,但是依然需要进行配置。要为AnZhiYu配上 PWA 特性, 你可以进行选择以下两种方式来进行适配,hexo-offline适合初学者,hexo-swpp适合已经对service worker有一定解决问题能力的进阶使用。
本文直接介绍hexo-swpp
主题版本大于1.5.2支持,这种加载办法为极其迅速,由sw控制其缓存,实现原理以及配置请查看以下三篇文章
配置方法:
安装hexo-swpp插件和swpp-backends,在博客根目录执行
1
2npm install hexo-swpp --save
npm install swpp-backends --save在
主题配置文件中开启 pwa 选项。1
2
3
4
5
6
7
8
9
10
11
12
13# PWA
# See https://github.com/JLHwung/hexo-offline
# ---------------
pwa:
enable: true
startup_image_enable: true
manifest: /manifest.json
theme_color: var(--anzhiyu-main)
mask_icon: /img/siteicon/apple-icon-180.png
apple_touch_icon: /img/siteicon/apple-icon-180.png
bookmark_icon: /img/siteicon/apple-icon-180.png
favicon_32_32: /img/siteicon/32.png
favicon_16_16: /img/siteicon/16.png在 hexo 的配置文件中添加如下内容即可启用插件:
1
2
3
4
5swpp:
# 是否启用插件
enable: true
# 是否在发布前自动执行脚本
# auto_exec: true在创建
source/目录中创建manifest.json文件。1
2
3
4
5
6
7
8
9
10
11
12
13
14
15
16
17
18
19
20
21
22
23
24
25
26
27
28
29
30
31
32
33
34
35
36
37{
"name": "浅草物语",
"short_name": "浅草",
"theme_color": "#3b70fc",
"background_color": "#3b70fc",
"display": "fullscreen",
"scope": "/",
"start_url": "/",
"id": "/",
"icons": [
{
"src": "img/siteicon/manifest-icon-192.maskable.png",
"sizes": "192x192",
"type": "image/png",
"purpose": "any"
},
{
"src": "img/siteicon/manifest-icon-192.maskable.png",
"sizes": "192x192",
"type": "image/png",
"purpose": "maskable"
},
{
"src": "img/siteicon/manifest-icon-512.maskable.png",
"sizes": "512x512",
"type": "image/png",
"purpose": "any"
},
{
"src": "img/siteicon/manifest-icon-512.maskable.png",
"sizes": "512x512",
"type": "image/png",
"purpose": "maskable"
}
],
"splash_pages": null
}你也可以通过 Web App Manifestopen 快速创建
manifest.json。(Web App Manifest 要求至少包含一个 512*512 像素的图标)可以通过
Chrome插件Lighthouse检查 PWA 配置是否生效以及配置是否正确。 打开博客页面启动Lighthouse插件 (Lighthouse插件要求至少包含一个 512*512 像素的图标) 关于 PWA(渐进式增强 Web 应用)的更多内容请参考 Google Tools for Web Developersopen生成pwa启动图 安装
pwa-asset-generator1
npm install pwa-asset-generator
hexo根目录执行
hexo g然后执行1
npx pwa-asset-generator ./public/img/512.png ./public/img/siteicon --padding "calc(50vh - 20%) calc(50vw - 40%)" -s false -h true
这条命令会使用
themes/anzhiyu/source/img/512.png这张图片来生成siteicon到目录/public/img/siteicon中,由于hexo cl会清除/public目录中的文件,所以每次hexo d之前都需要执行,如果不想每次hexo d之前都执行的话,可以将主题中的themes/anzhiyu/source/img/512.png图片复制移动到根目录``/source/img中,然后将生成后的/public/img/siteicon文件夹复制到根目录``/source/img中,这样根目录``/source/img中就会一直有siteicon,以后执行hexo g时,也会将siteicon生成到public目录中。在hexo g以后执行一次
hexo命令 如果你的网站使用了 CDN 且启用了 CDN 端缓存,请务必将 CDN 缓存时间调整至最大值,然后每次更新网页内容后手动刷新 CDN 缓存。 因为本插件的更新方案要求update.json更新时,其它所有需要更新的资源均已更新,否则客户端拉取时会误以为拉取到了最新的内容,从而导致部分资源“错过”更新。 简而言之,就是update.json必须与需要缓存的资源共享同样的 CDN 缓存周期,但是目前市面上我知道的 CDN 无法做到这一点,所以只能从下列选项中二选一- 把所有资源的 CDN 缓存时间拉满,每次更新网站时刷新 CDN 缓存
- CDN 不缓存所有需要在客户端缓存的资源
安知鱼主题适配hexo-swpp3.2+,swpp-backends2.0+更多内容请参考 Swpp Backends 官方文档hexo-swppswpp-backends解剖SW原理暨博主SW实现小白也能用的 SW 构建插件
主题默认内置了一份sw-rules.js规则,位于
themes/anzhiyu/sw-rules.js可以开箱即用,如需自定义缓存规则可以复制该文件至hexo根目录然后修改根目录的sw-rules.js。
(感谢安知鱼为pwa安装提供便利)
导入文章 远程部署
导入之前的文章至\source\_posts中
执行三件套(外加swpp)
1 | hexo cl |
没问题后推送至仓库,等待部署生效
1 | hexo d |
结语
至此完成了整个博客的迁移,本文仅供参考,诸如仓库密钥私钥等配置本文并未提及,请读者自行配置。
本文基于重装博客回忆版,只能说能用就别折腾,本文同样适用于博客迁移,再次感谢安知鱼提供技术支持。